
Putting on a Jacket and a Hat for Winter (Part 3: Uncovering One Skeleton, and Preparing to Bury Another)
Vol. 2, No. 9

The house that Moses Chaplin built is a timber frame structure characteristic of many 18th and early 19th century New England homes.
The basic elements of that timber frame are as follows: Large 8 inch by 10 inch (roughly) hand hewed beams (horizontal pieces) are set in a rectangle on top of the stacked fieldstone foundation. Posts (the vertical pieces) of just about the same dimension project up from the corners of that rectangle and some key spots on the sides of that rectangle, to meet a second rectangle of beams that form the top of the wall system. There is bracing, a diagonal piece of wood running from post to beam, at each top corner where a post and beam meet. Rafters that form the roof frame are set into the big beams. There are other beams spanning the middle of the building–and that makes up the “big bones” of the house, after which the “smaller bones” (floor and ceiling joists, wall studs, and the like) are added to round it out.
And voila, a house skeleton!
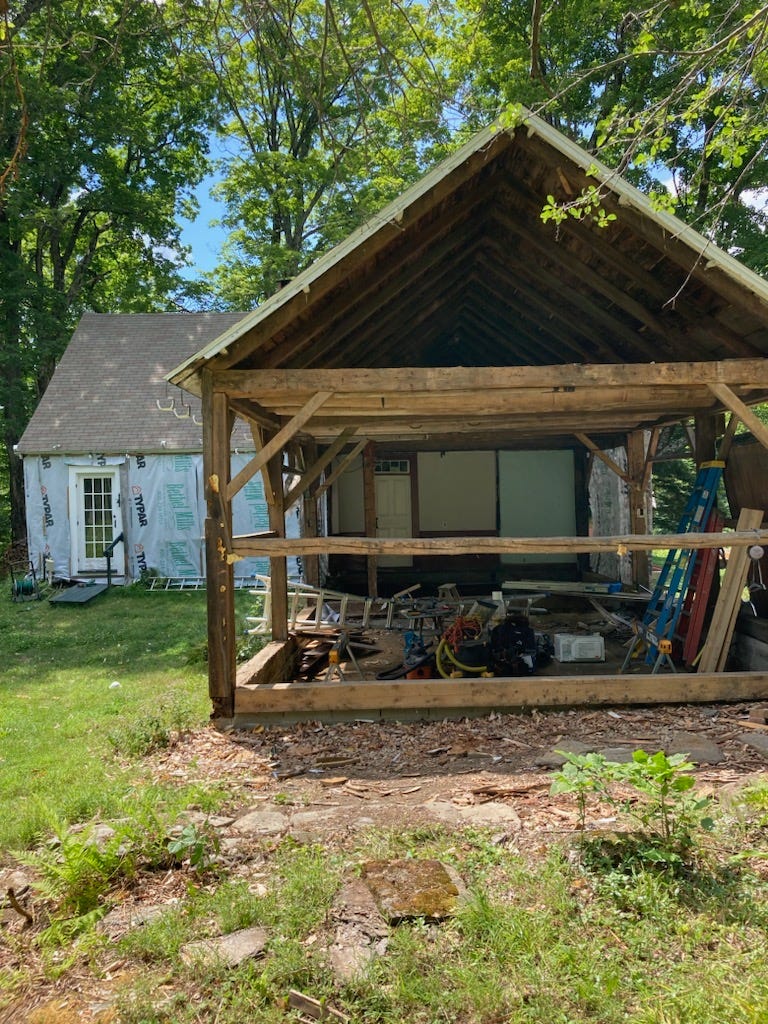
When we first moved into the house, the original framing was mostly hidden from view, tucked away neatly inside plastered walls, cased inside painted boards, and under floors/ceilings. But, like so many things on this journey, a clearer picture emerged with time…and careful deconstruction. And the more we reveal of the original handiwork of Moses and Aaron–the more we peel back the coverings to get to the original timber frame–the more we love it.
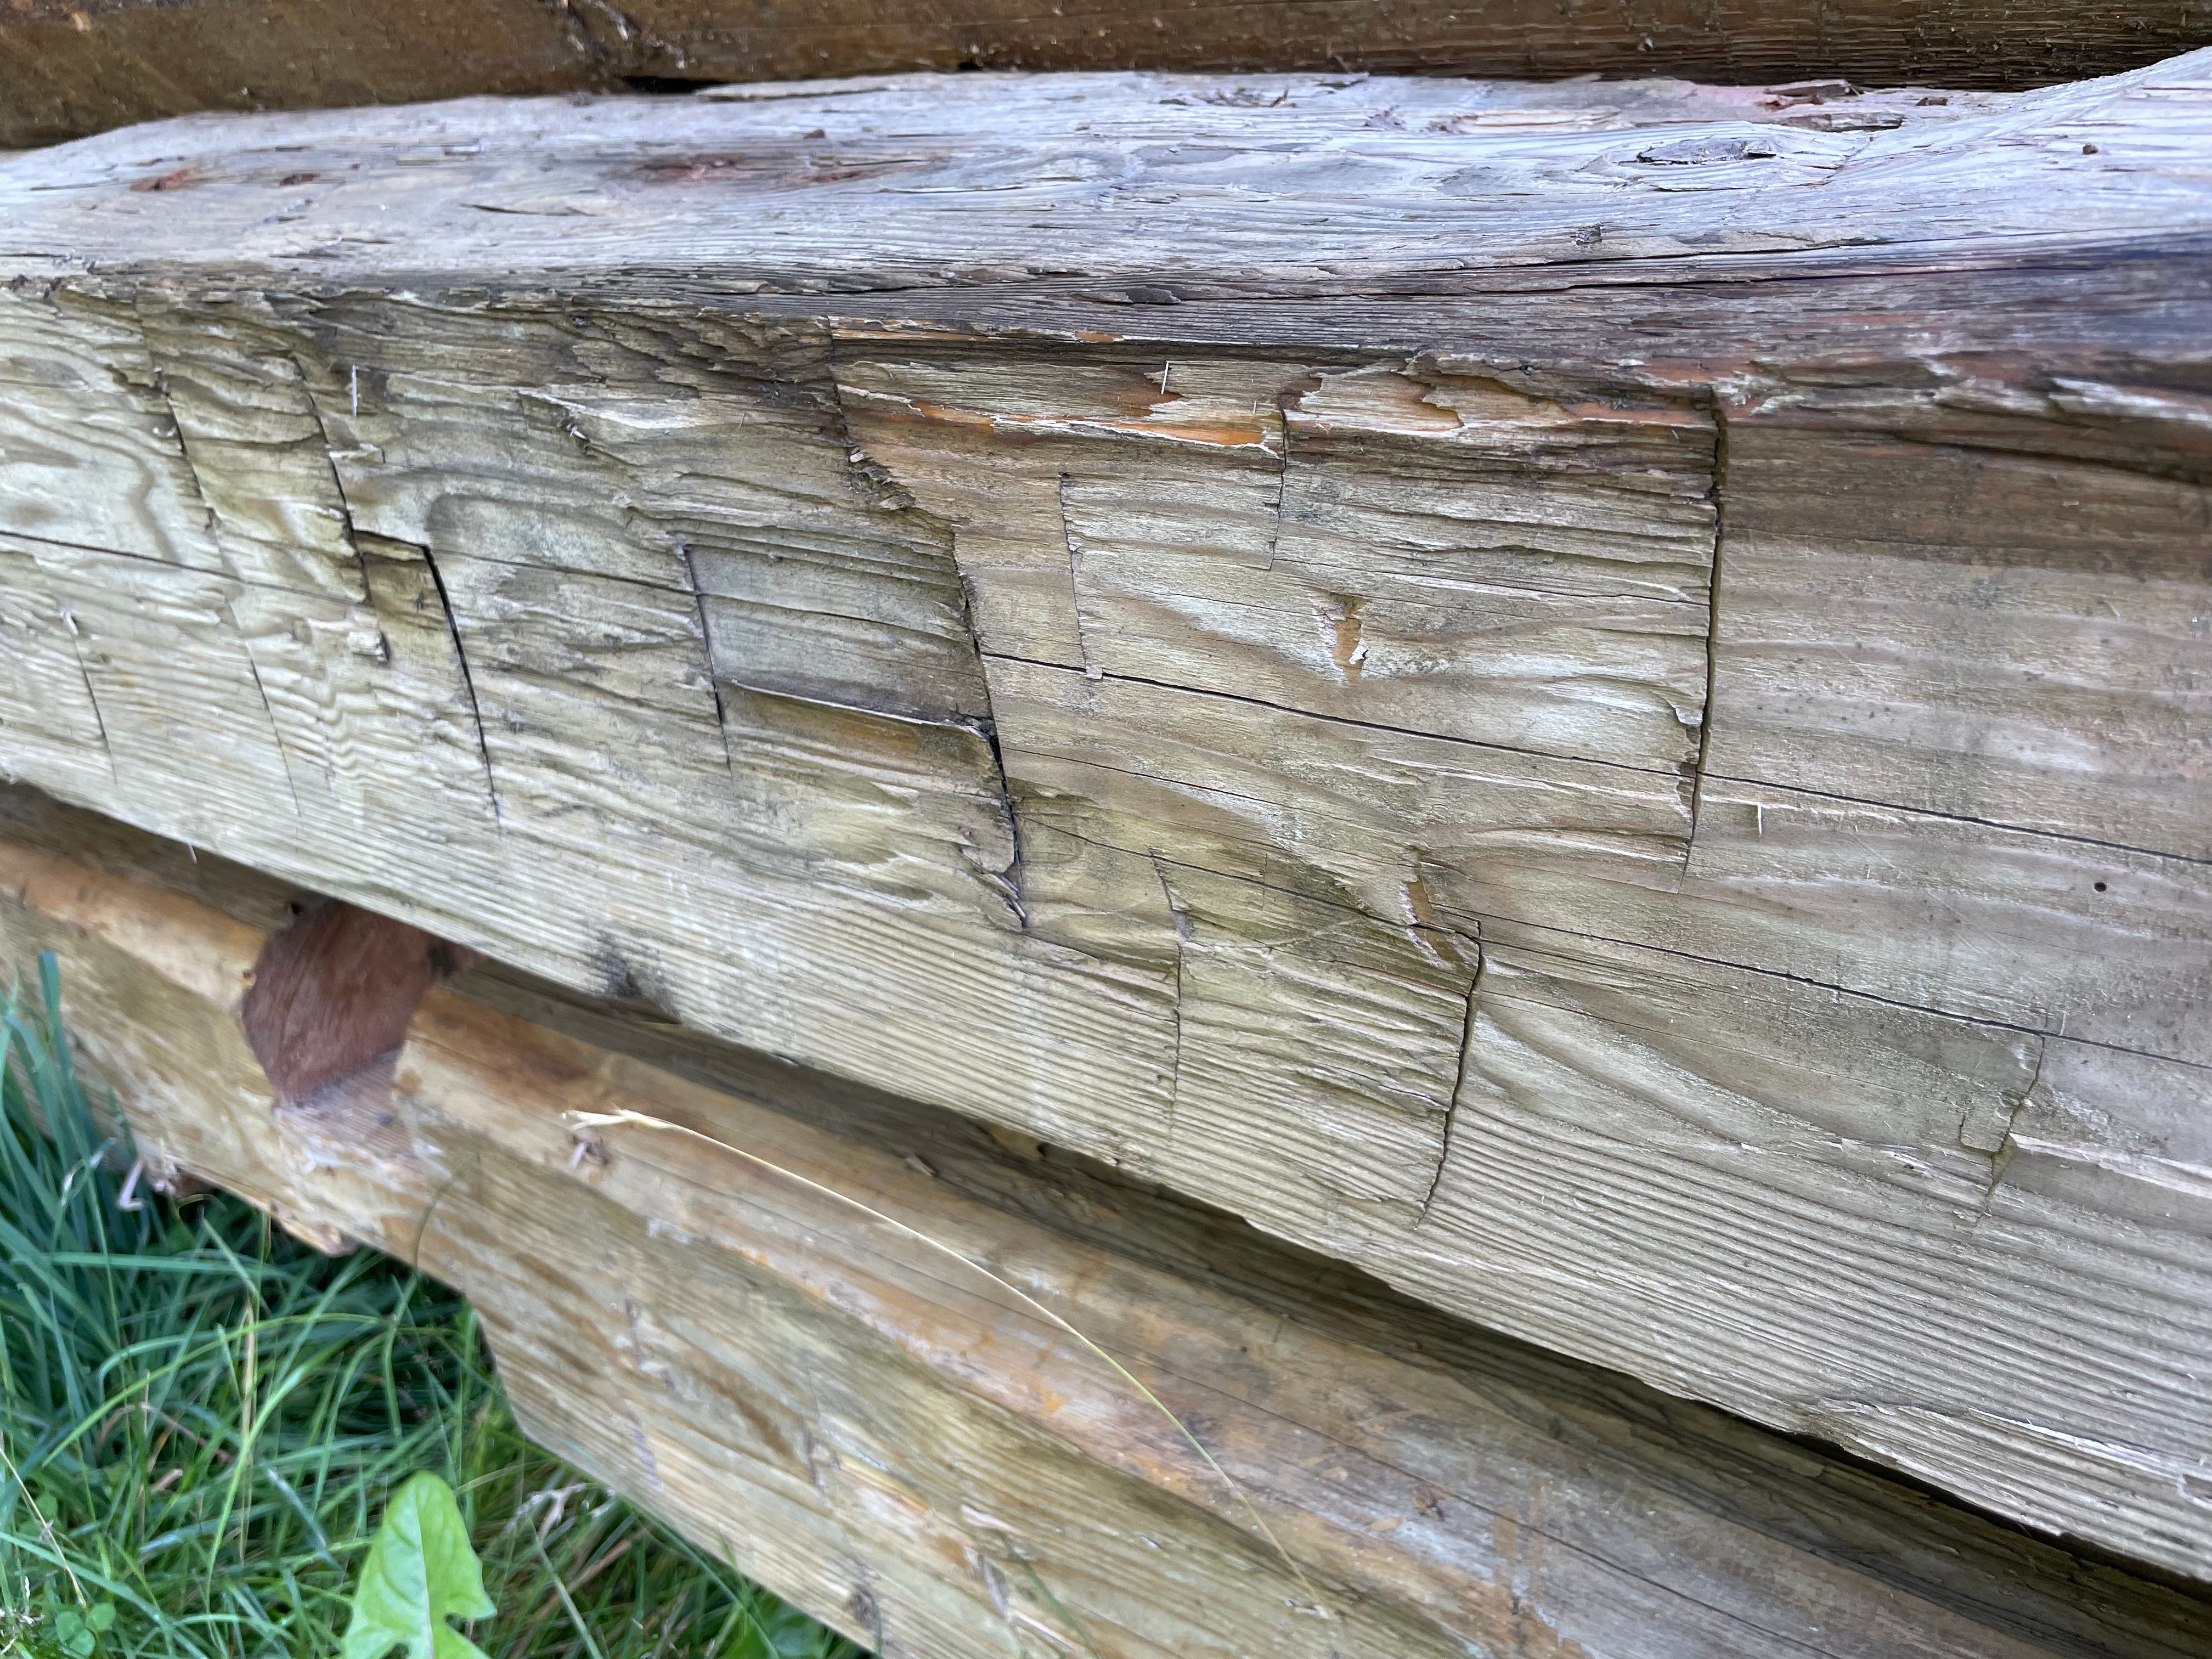
We love it for its look–a warm grey/brown patina on wood from trees that started growing well over 300 years ago.
We love it for the feel as we run our hands along the contours of a hand hewn beam, the skill and effort evident in each little rise, fall and catch along the length.
Stare at one of those beams long enough, and the brain starts to add in other sensory experiences, imagined or otherwise.
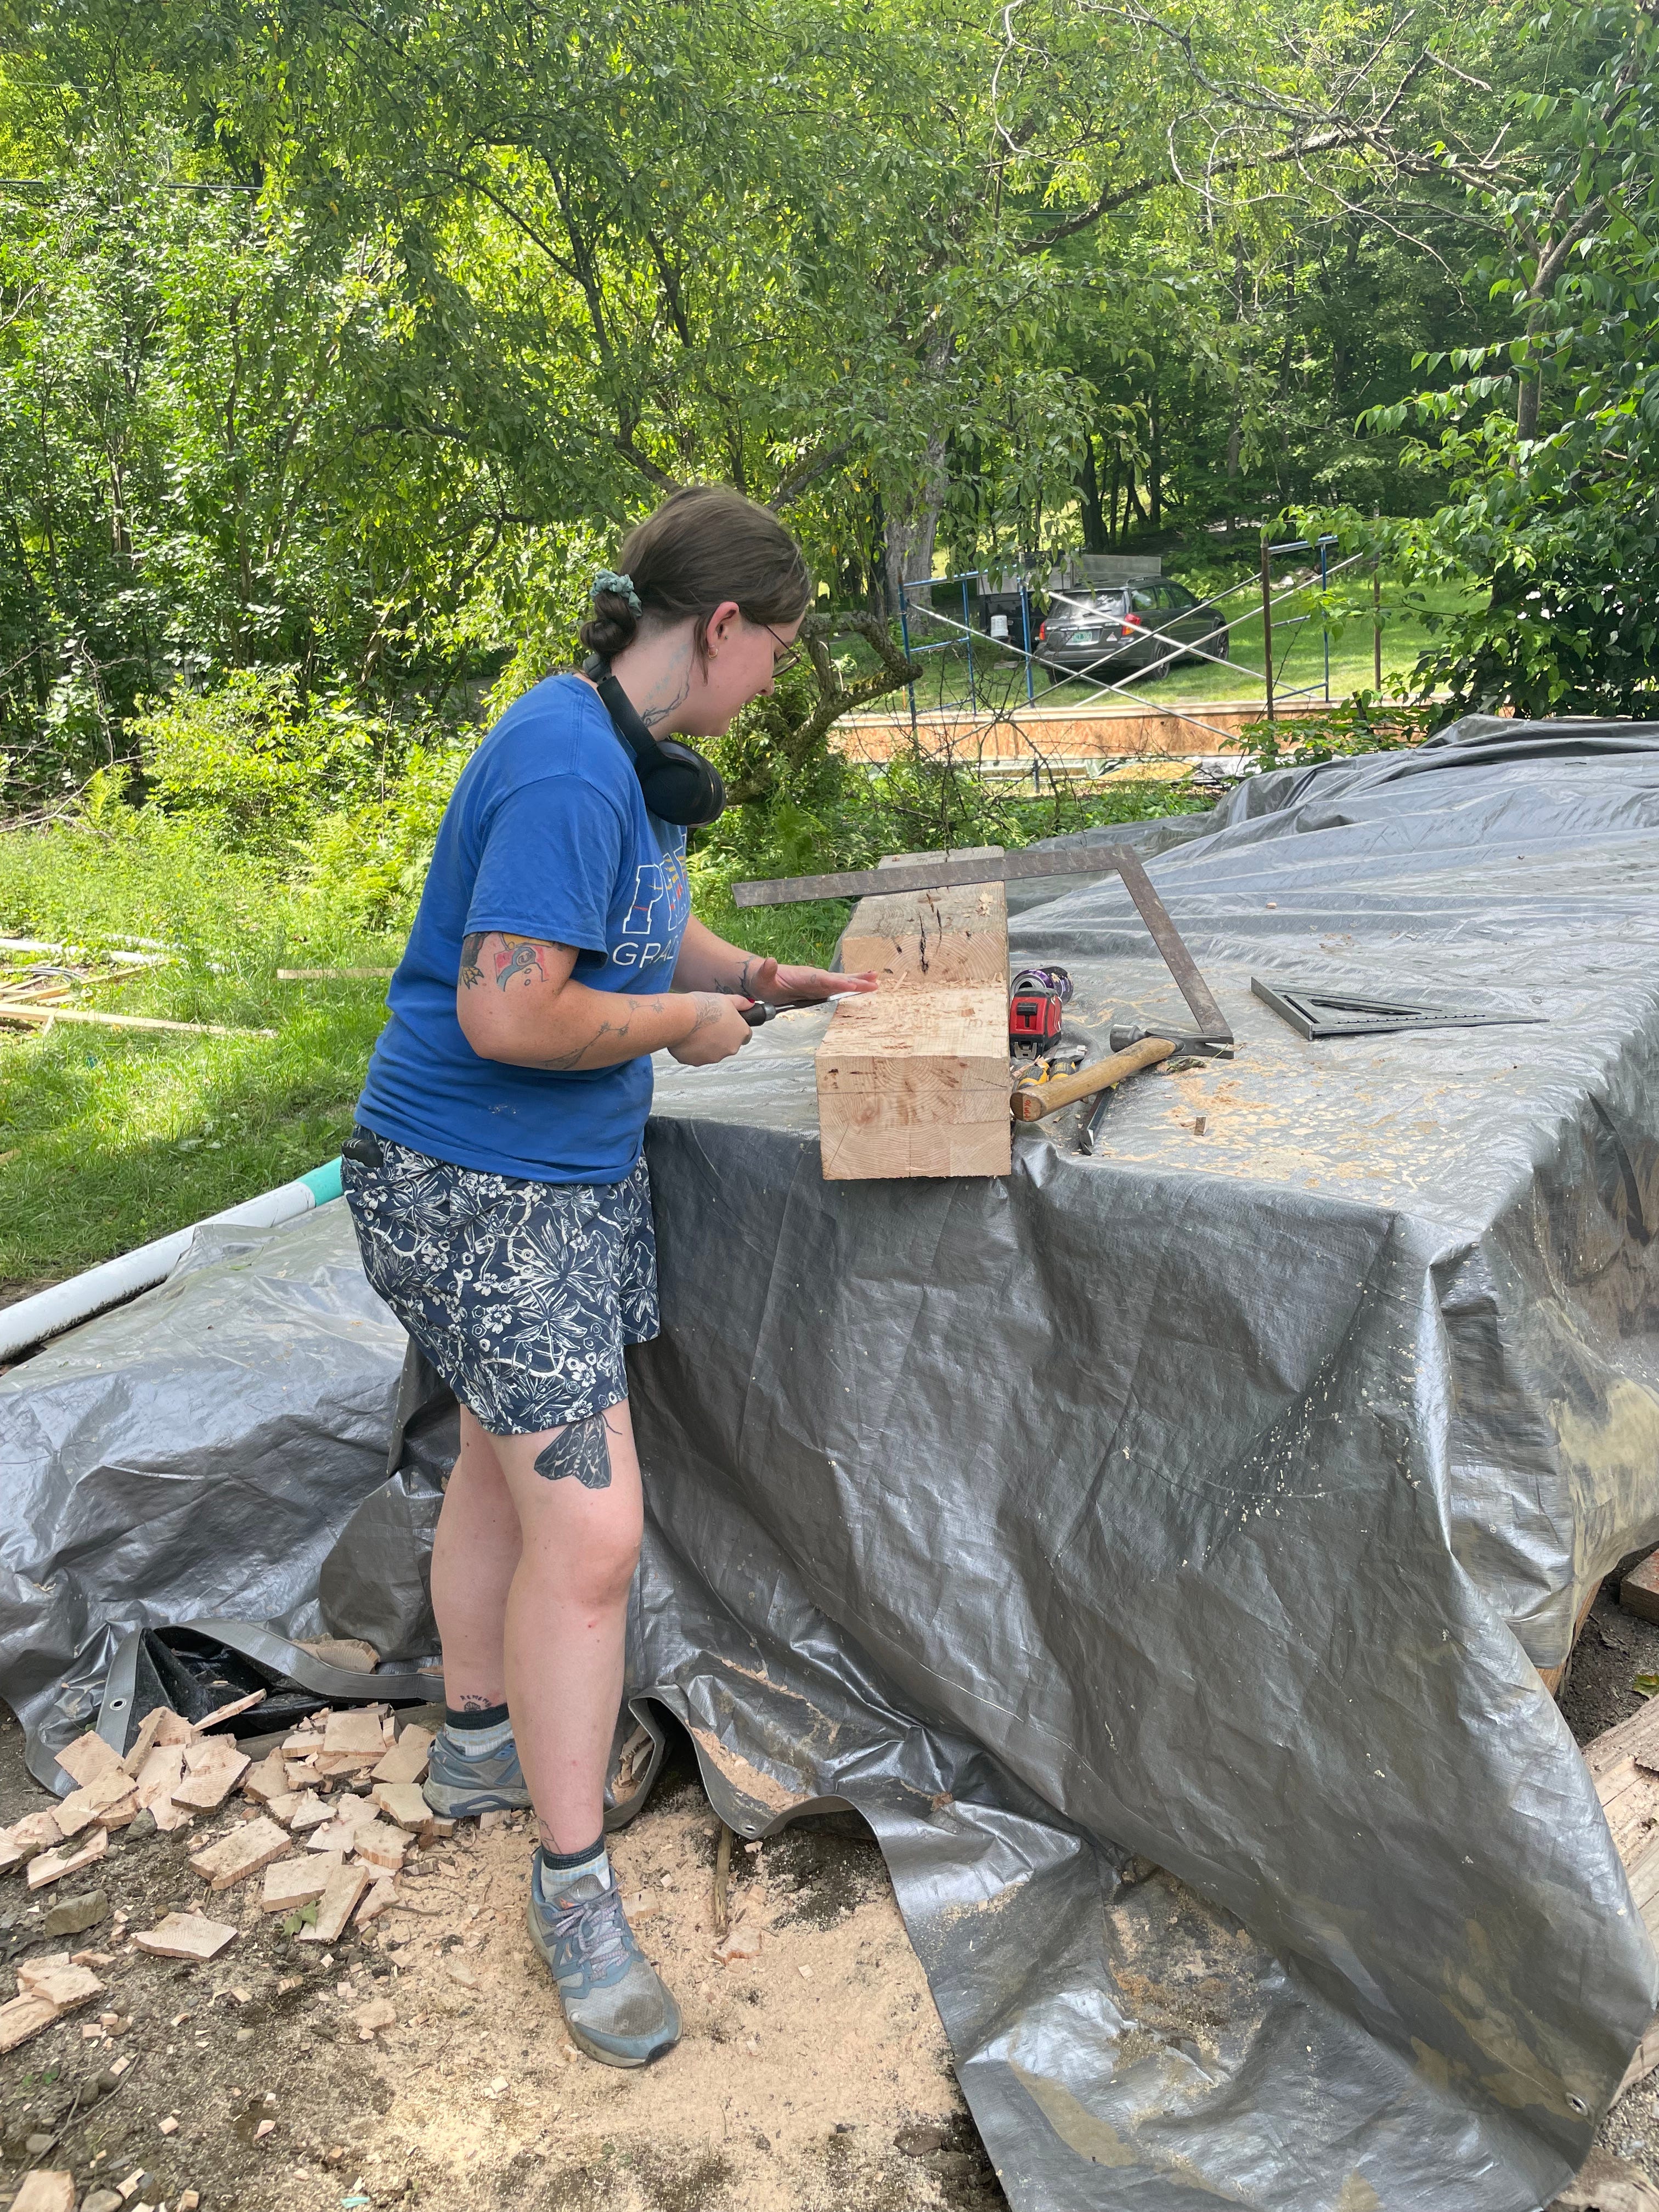
Sounds from 240 years ago. The rich tones emanating from a huge log as the tool used to make the beam, most likely an adze, strikes over and over again. Banter between friends as they chisel away to make the mortice and tenon joints. Grunts and curses as Moses and Aaron hoist the beams into position.
Sounds and smells from today. It is easy to tell when someone is having a go at one of the old timbers of the original house, whether to repair a rotten section or thread a wire or piping. The sound is the first clue--the song of the saw as it labors to cut through wood with such a tight grain is a tune as distinct from the usual “modern conventional lumber” song as heavy metal is from light jazz. The smell follows up the sound. A lovely, sweet smell of heated old timber wood, impossible to describe without sounding like a pretentious wine connoisseur.
If you’ve been keeping track of the senses up to now…then, no, I haven’t tasted it. Carpenter ants clearly have, in some places where the wood got wet and stayed so for extended periods. Seems they, and the fungi that do their part to break down trees, found it delicious. We’ve since cleaned all that out decay, the repairs are mostly done (I’ve said that before!), and we’re looking ahead.
Given our enthusiasm for the old timber frame, it should be no surprise that we plan to leave some of it exposed when the renovations are done. We also plan to reintroduce some exposed timber elements from the original deconstruction of the 1830s addition when we add back the addition of the 2020s. More on that in other posts (pun intended).
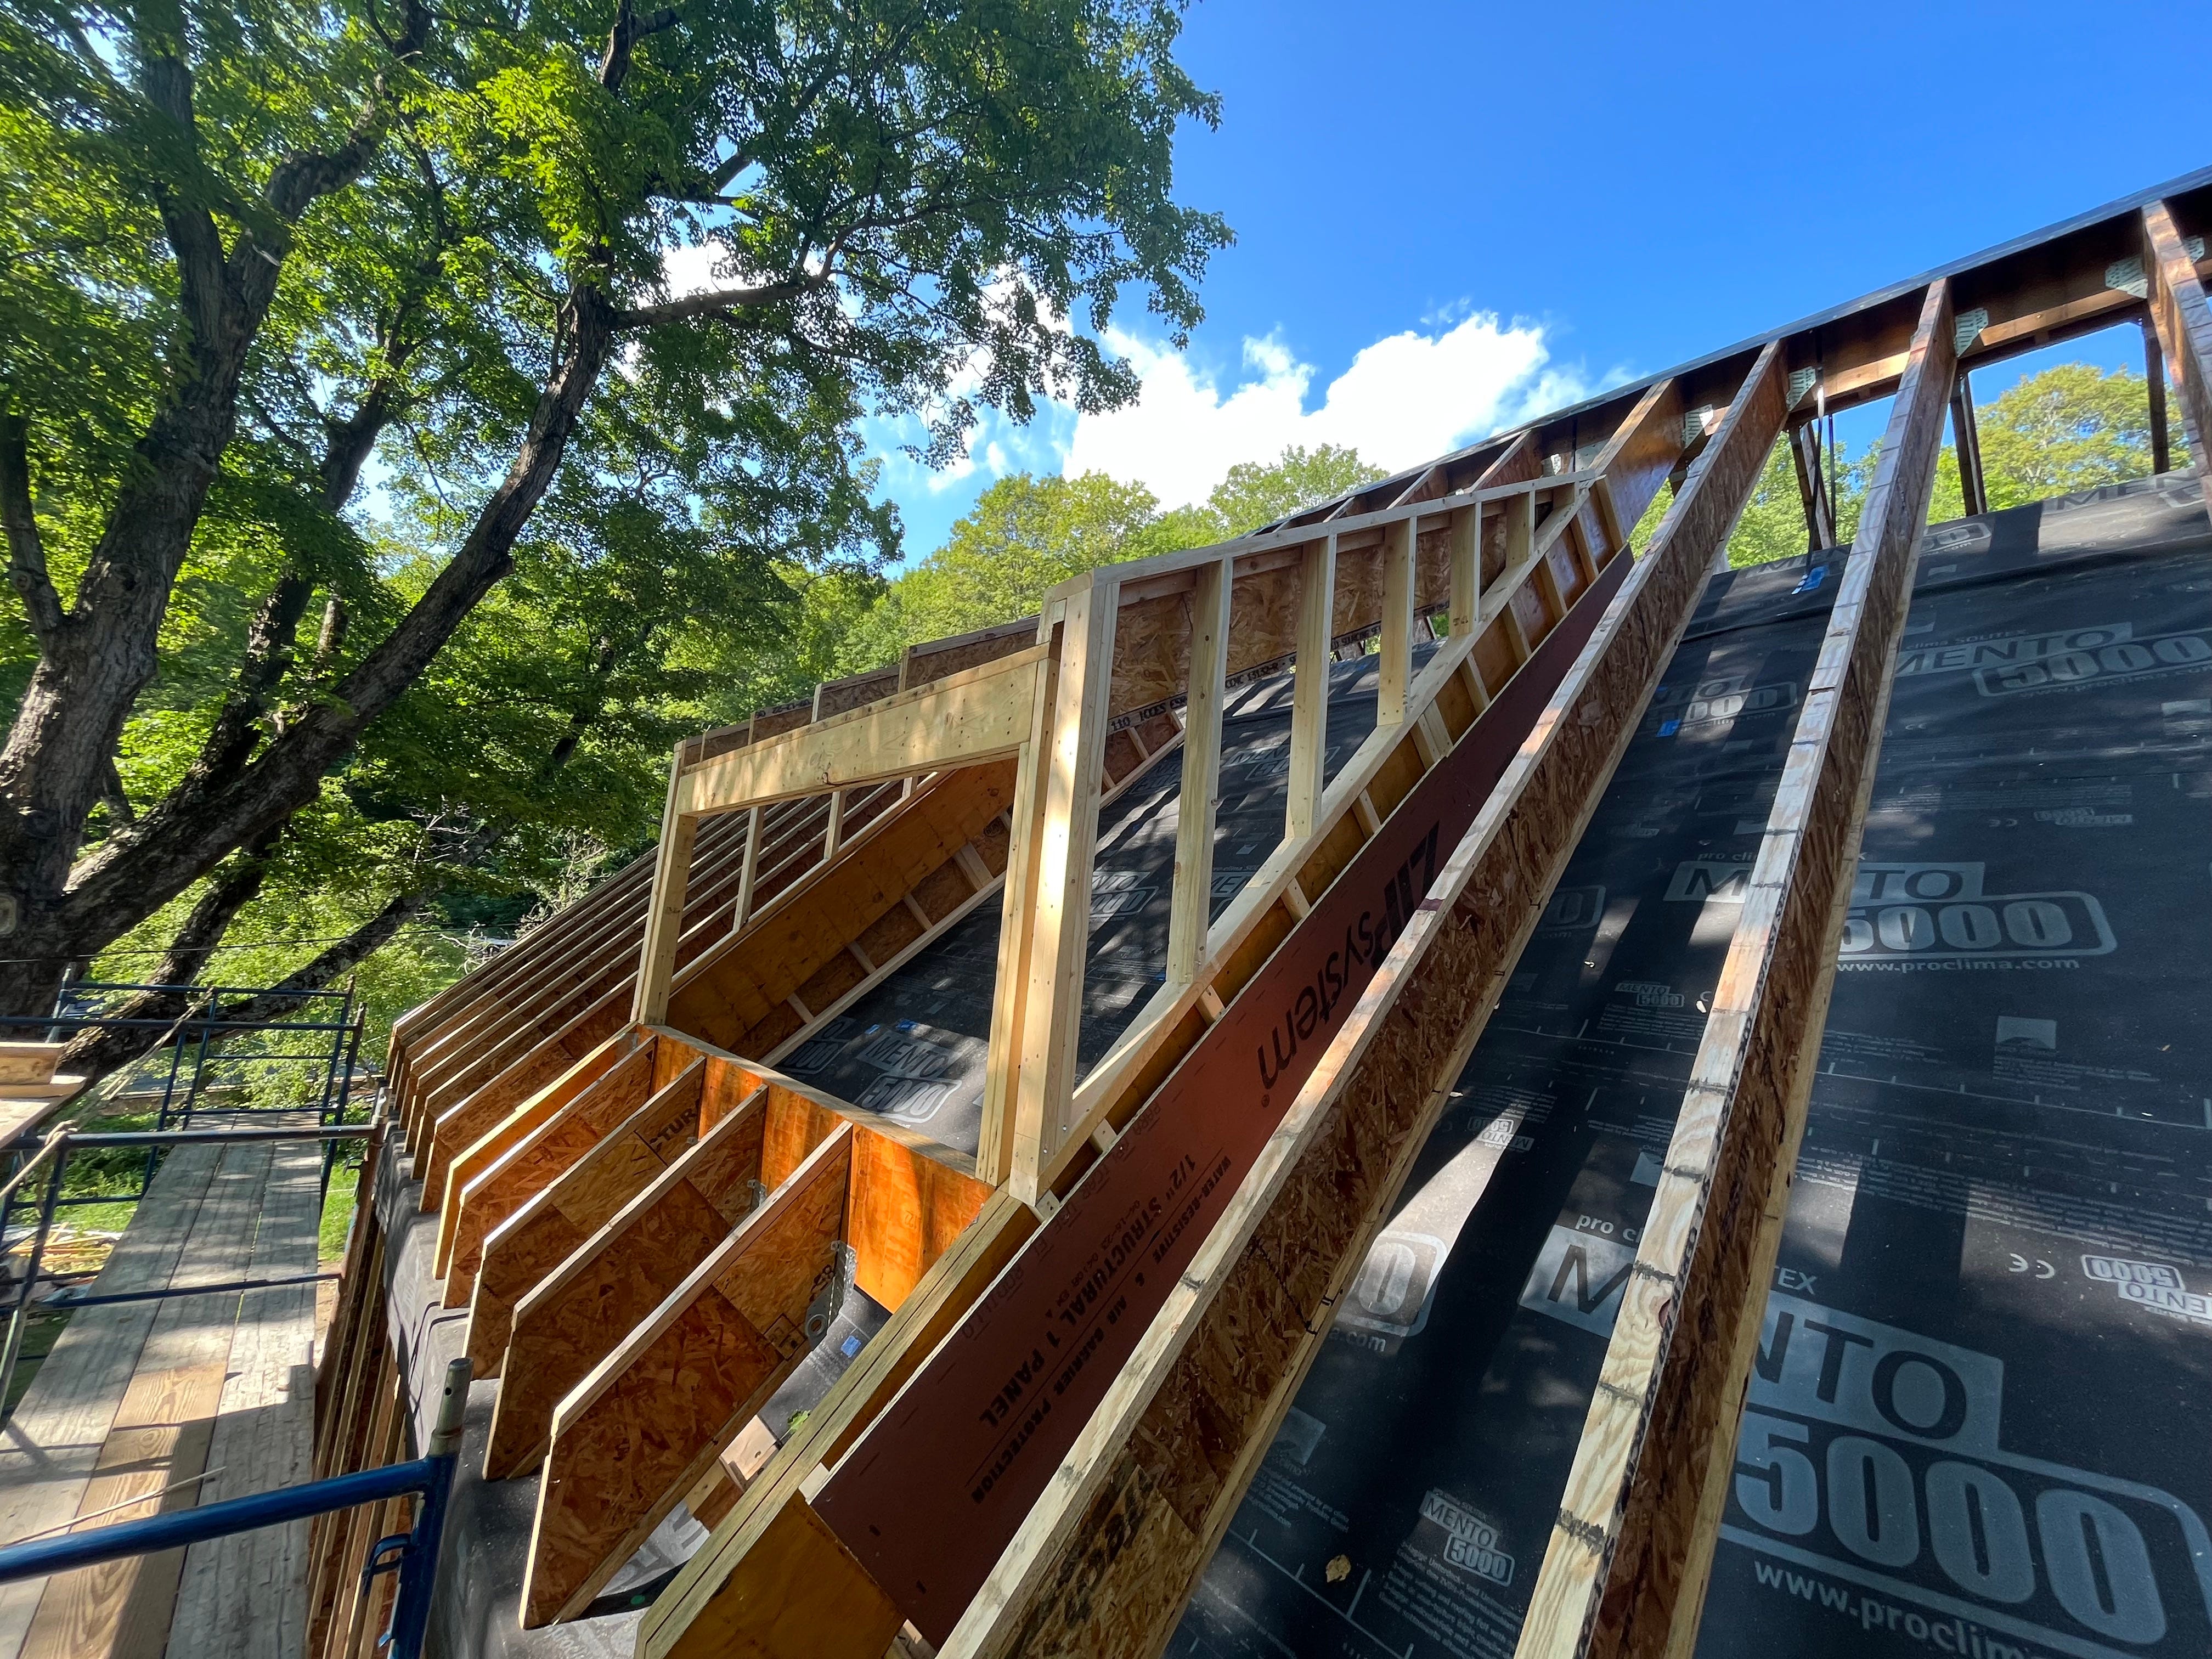
Even as we’ve been working out where and how to expose some of the frame of the original building, we have been building another frame that is exterior to the sheathing of the original house—an exoskeleton! In contrast to the original framing, we plan to bury this new skeleton completely.
There were two primary reasons to add exterior framing:
1. The original framing, while strong and beautiful, was quite askew. The frame racks to the south anywhere from 6 to 11.5 inches (which led to a fun exercise to pull in a gable end wall, as I described in Part 1 of this series). As we’ve worked our way around the house, we’ve also come to appreciate that it also sinks at least 4 inches from the northwest to the southwest corner, and rises again from the southwest corner to the southeast corner. It is, as the Snowdog team likes to say, “cattywumpus”. Attaching a straight, level and plumb exterior of the new addition to a house that is…well…cattywumpus, would be both very challenging and leave the resulting integrated structure looking more than a little strange.
2. We wanted the room to add significant amounts of insulation. The walls were pretty much empty when we started, and the roof had very little insulation as well. Yes, it was as drafty, cold and expensive to heat as you are imagining it might be. And while we could have chosen to fatten the walls and roof to the inside to add room for lots of insulation, that (1) wouldn’t correct all the wonkiness just described, (2) would shrink the living space of the house, which we didn’t want to do, and (3) would be very disruptive to daily living as we did construction.
The approach to create the new framing around the outside of the house was described previously. In brief, it involved using I-Joists (aka, TJIs) as the main framing element to frame new walls and a roof, the rafters for which hang from a newly installed ridge beam above the old roof.
Easy enough to say. But the work was painstaking.
This was mainly because we needed to create a straight, level and plumb frame around the aforementioned cattywumpus frame. No shade on Moses here. Two and a half centuries will do that to any frame. My roughly half century old personal frame engenders comments about not being exactly what it once was every now and again as well (though I’ve yet to be called “cattywumpus”).
After many custom measurements, non-traditional angle cuts, lots of shimming, and many other adaptive techniques to bridge between old and new, the Snowdog team has gotten to the end of the majority of the rough framing phase for the existing house. This an exciting milestone!
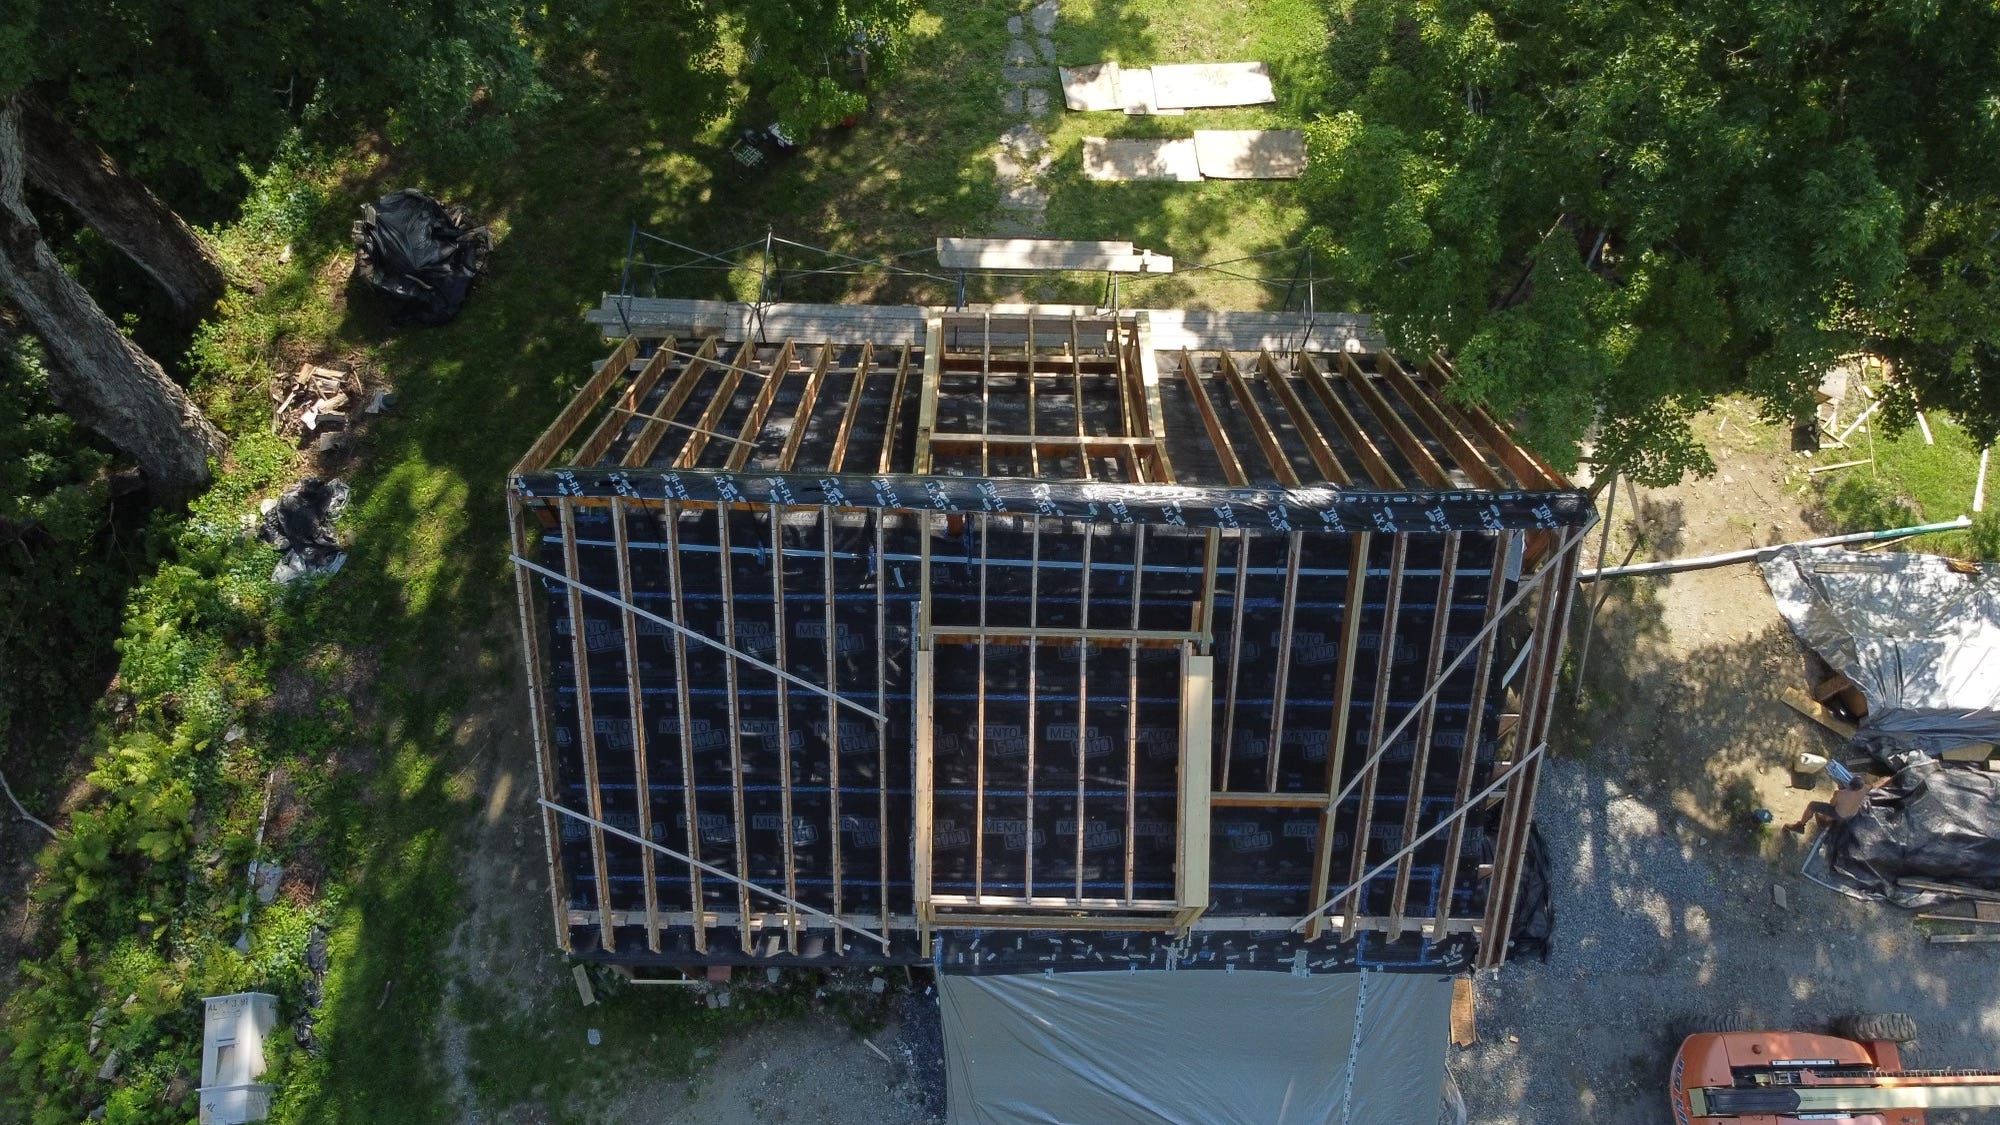
The completion of this phase leaves us poised to begin the sheathing work, after which we can frame and add in the windows/doors, and then insulate. And in so doing, we will have the hat and jacket on the existing house for winter. And we will have buried the new exoskeleton, making it a proper skeleton once more!
For those following closely, you may be wondering:
What is the plan to build the addition that will go on to the back of the existing house, the foundation for which was poured a fairly long time ago?
Considering the time it has taken to get from the start to this milestone, especially as there doesn’t seem to be any progress on the addition, won’t it be another few years (or decades?) to complete this project?
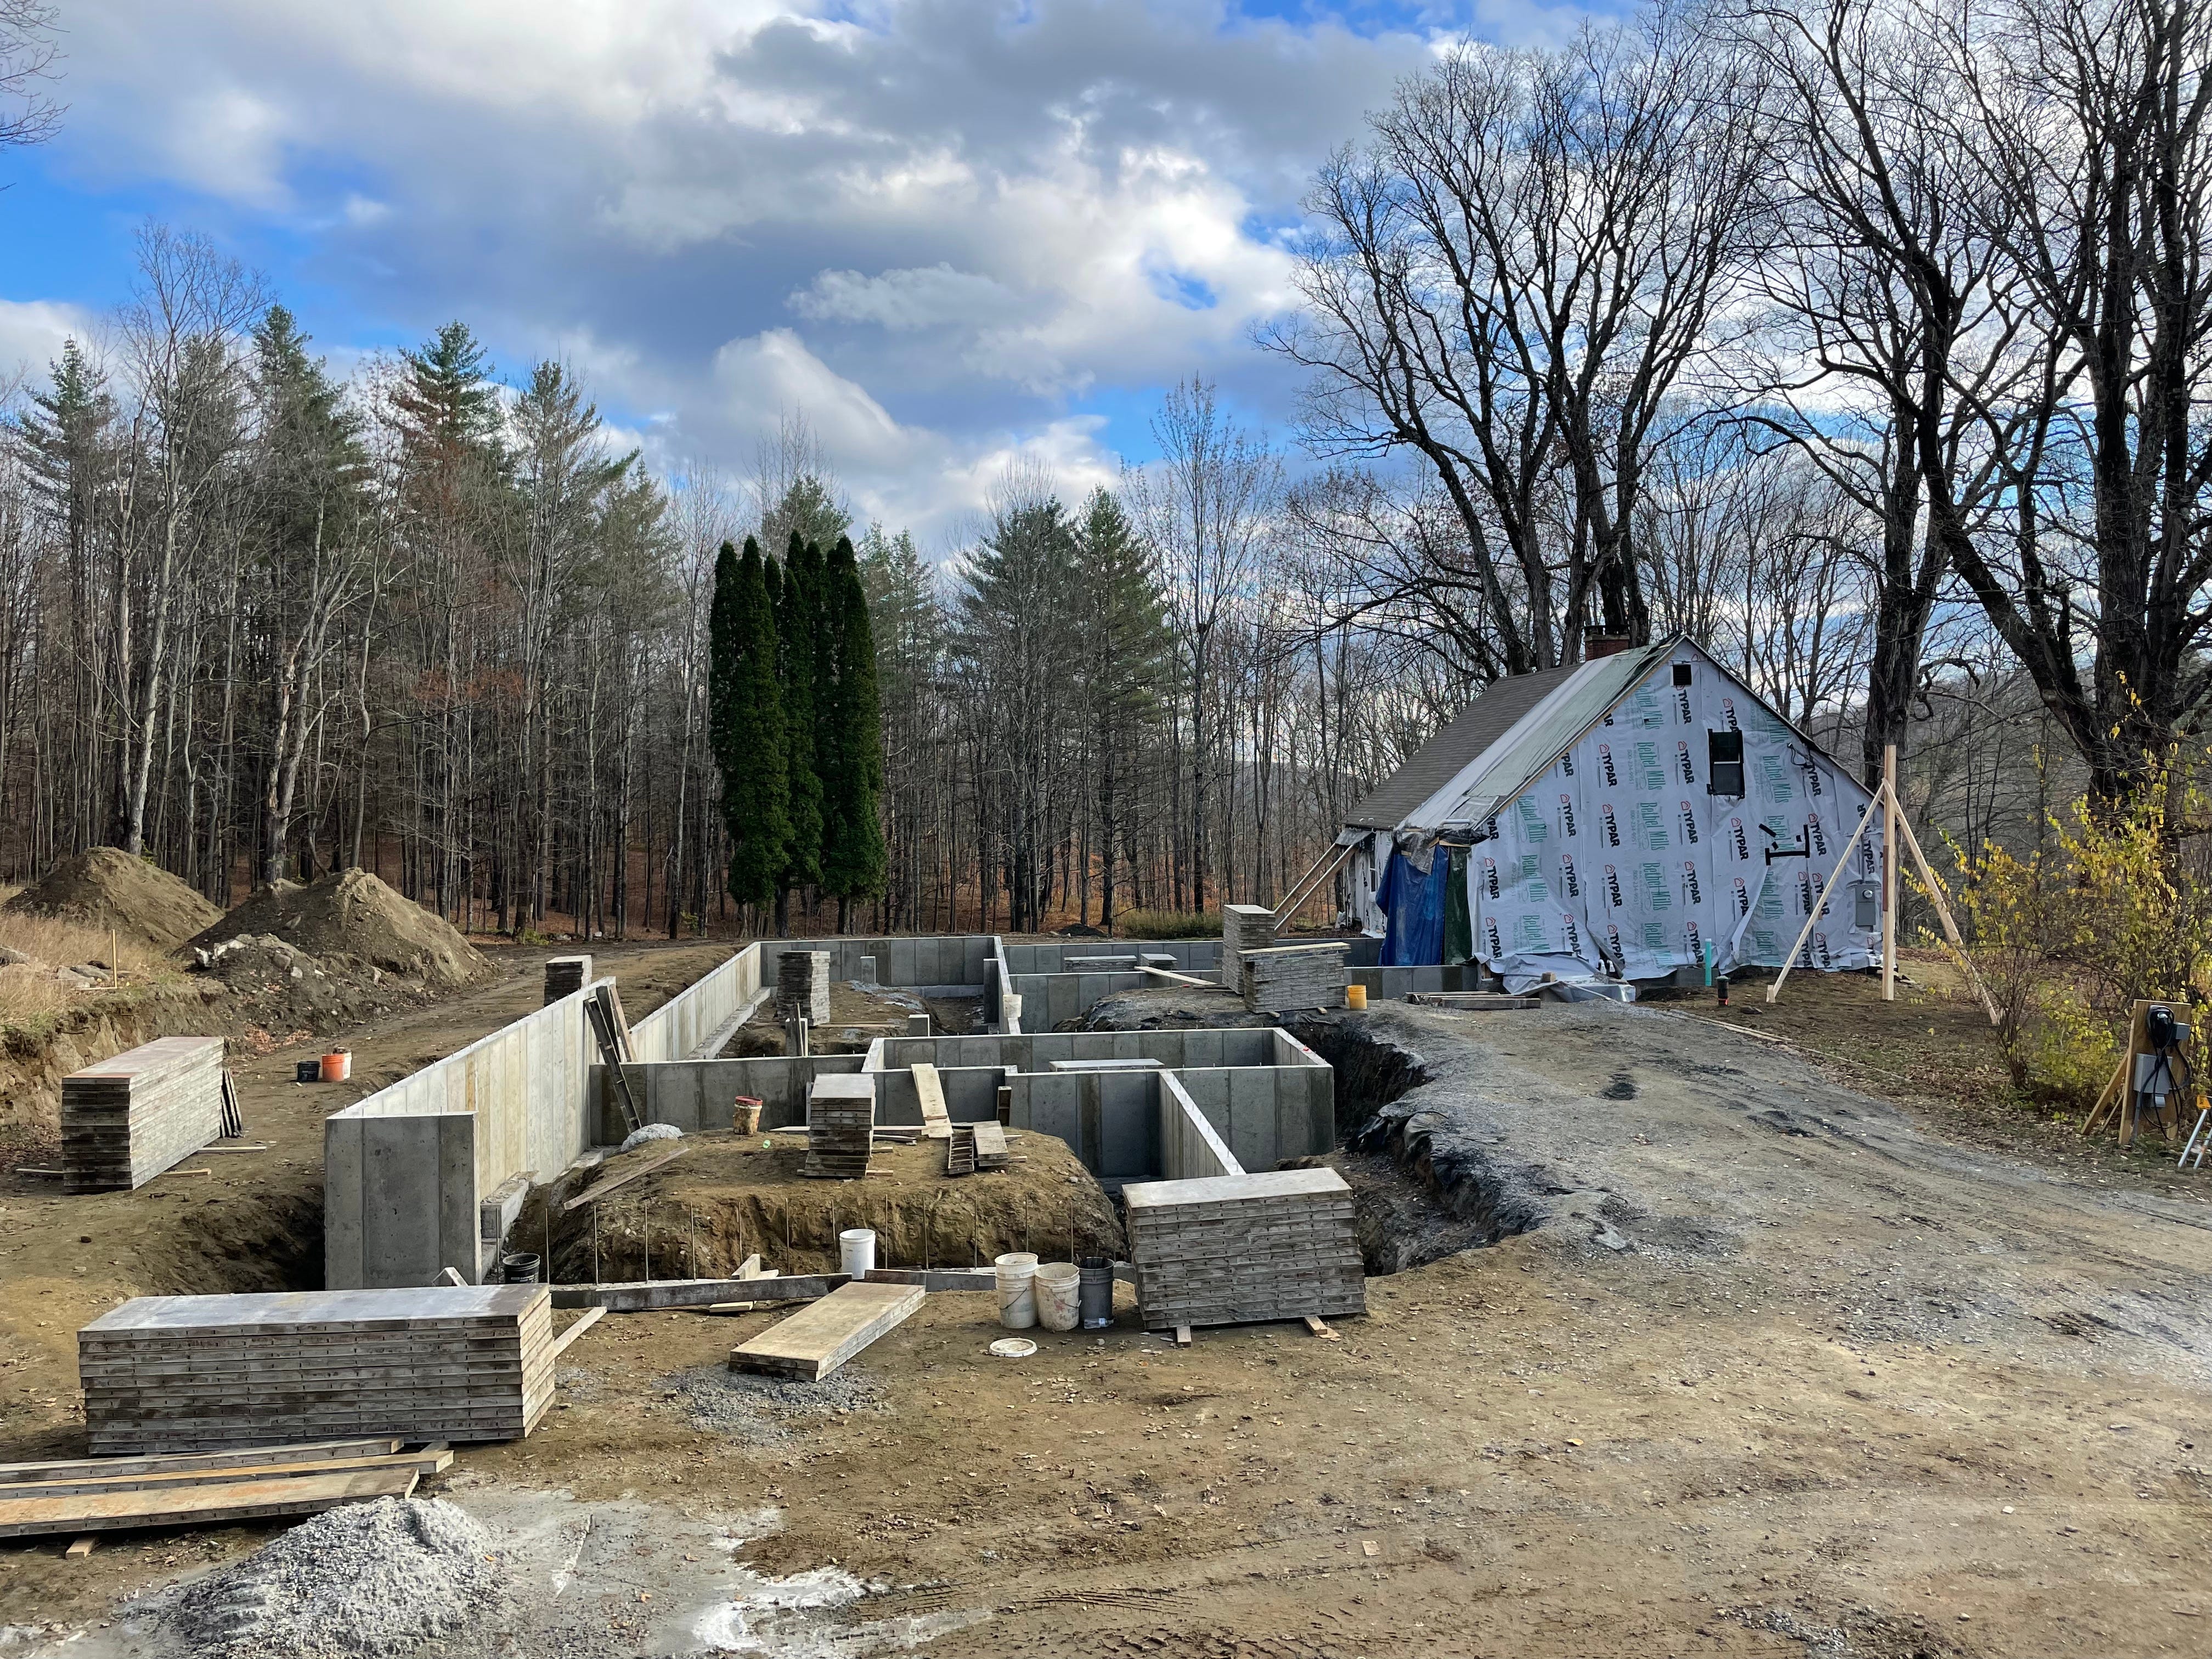
Well, we have a plan, and a collaborator I’ve yet to introduce, that will go a long way towards addressing both of those questions.
I look forward to sharing that soon.
We visited the work site and what a transformation so far congratulations to the entire team.
We learned first hand what the plans are for the addition and we will not tell, you will have to come back and see what it is in the next couple of blogs.
It is nice to see that lumber from the original home will be used in the new home, and their story will continue to be told well into the future.
Looking forward to the next blog.